How to Create and Manage Events
Learn to create new events and manage existing arrangements.
What you'll learn in this guide
Follow these steps to master how to create and manage events. Each step includes detailed instructions and screenshots.
Go to Events Start
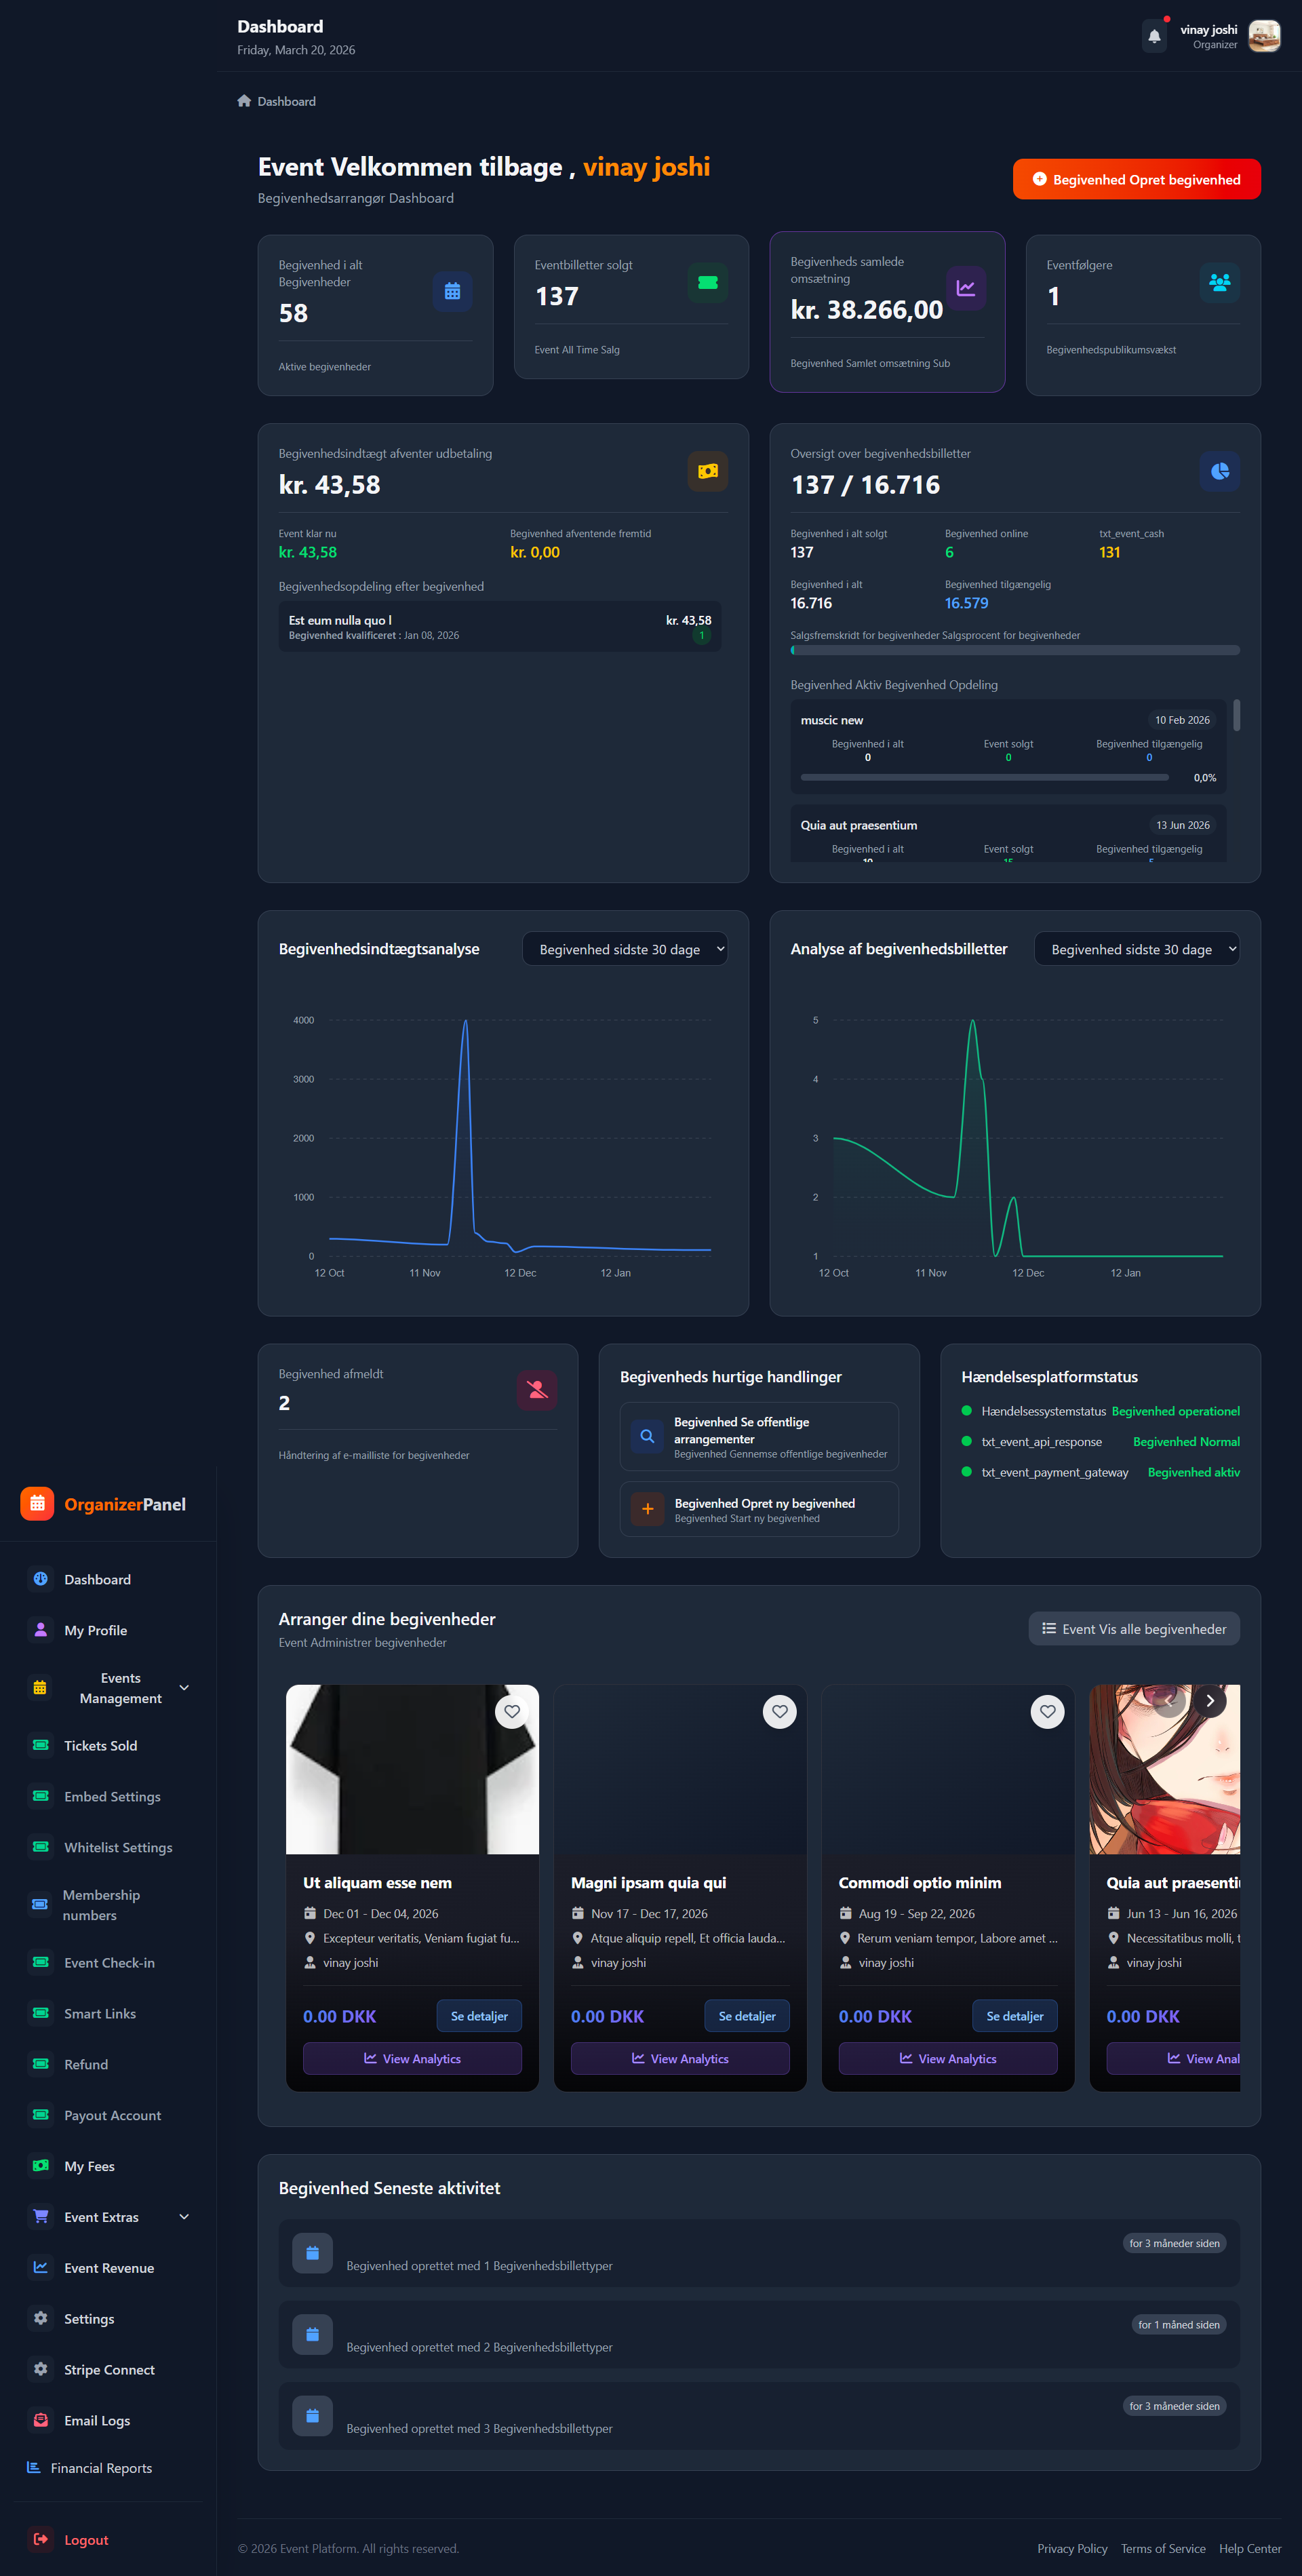
In the left sidebar, find the "Events" menu item. Click it to open the events overview. Here you will see a list of all your existing events, including active, upcoming, and completed ones. You can search for specific events using the search bar at the top. Each event shows status (active, sold out, completed), date, number of tickets sold, and total revenue.
Create New Event
Click the green "+ Create Event" button at the top right. This opens the event editor where you need to fill in the following information: ๐ Event Title - Choose a clear and descriptive name (max 100 characters), ๐ Date and Time - Select start and end dates for your event, ๐ Location - Enter address, city, and venue name, ๐ Description - Write a detailed description of what attendees can expect, ๐ผ๏ธ Images - Upload a cover image and optional gallery images, ๐ท๏ธ Category - Select the relevant category for your event (music, sports, conference, etc.).
Fill Event Details
Once you have created your event, you need to fill in all details. In the "General" tab you will find: Description - Use text formatting to make the description readable, Practical Information - Transportation, parking, age restrictions, wheelchair access, Contact Person - Name and email of the person responsible for the event. In the "Tickets" tab you configure: Ticket Types - Create different ticket categories (Early Bird, Standard, VIP), Prices - Set price including VAT for each ticket type, Quantity - Set maximum number of tickets per type, Sales Period - Select start and end dates for ticket sales. In the "Appearance" tab you can: Customize Colors - Choose primary and secondary colors that match your branding, Upload Banner - A large banner image for the event page, Add Logo - Your company logo appears on tickets and communications.
Save and Publish
Once you have filled in all details, you are ready to publish your event. Click the blue "Save and Publish" button at the bottom of the page. Before publishing, we recommend: โ Review all information for spelling errors, โ Check that date and time are correct, โ Verify ticket prices are correct, โ Test the event page link in a separate browser. After publishing, you can still edit the event, but be aware that: Customers who have already purchased tickets will see the updated information, You cannot change the event date after sales have started (without refunding all tickets), You can always add more tickets or create new ticket types.
๐ Congratulations!
You've completed the guide for How to Create and Manage Events. If you have questions, please contact our support.
๐ข Was this article helpful?
Still have questions?
Our support team is ready to help you 24/7